


Your core is not your abs. It is the group of muscles that wraps around your middle like a corset — front, sides, and back — and it is the reason you can get out of a chair without pushing off the arms, or catch yourself when you trip.
That matters more after 60 than at any other age. Falls are the leading cause of injury in adults over 65, and weak core muscles are one of the most common reasons behind them. The good news: a stability ball is one of the gentlest tools you can use to rebuild that strength. It is unstable by design, so it forces your deep core muscles to work without loading your spine the way sit-ups do.
This guide covers 12 exercises, ordered from easiest to hardest. Every one has been selected because it is safe for older adults who have no acute back injury. You will also find the three mistakes that cause most stability ball falls — and they are not the ones people expect.
Before you start: if you have osteoporosis, a recent back injury, a replaced hip or knee, or a history of falls, talk to your doctor or a physiotherapist before using a ball. This guide is general information, not a personal medical plan.
What’s in this guide
Why a Stability Ball Is Better Than Sit-Ups After 60
How to Choose the Right Ball Size
The 3 Mistakes That Cause Most Stability Ball Falls
12 Core Exercises for Seniors, Easiest to Hardest
- Level 1 — Seated and Supported
- Level 2 — Seated and Unsupported
Level 3 — Standing Control
The 10-Minute Beginner Routine
How Often Should You Do These Exercises?
What Results to Expect, and When
FAQ
The Bottom Line
WHY A STABILITY BALL IS BETTER THAN SIT-UPS AFTER 60
Sit-ups and crunches put your lower back into repeated flexion under load. For a healthy 25-year-old this is unremarkable. For a 70-year-old with age-related disc changes, it is a recipe for a strained back.
A stability ball works the opposite way. The ball is unstable, so your deep core muscles — the transverse abdominis, the internal obliques, the multifidus — have to fire continuously just to keep you upright. You get core activation without bending your spine repeatedly under load.
There is a second benefit that gets overlooked: sitting on a ball trains balance. Your ankles, hips, and spine constantly make small corrections to keep you steady. Those corrections are the exact skill you need when you step off a curb and your foot lands wrong. A study in the Journal of Physical Therapy Science found that older adults who trained on unstable surfaces for eight weeks improved their balance scores significantly more than those who trained on stable surfaces.
In plain terms: the ball trains the muscles that stop you from falling, not just the ones that look good in a mirror.
HOW TO CHOOSE THE RIGHT BALL SIZE
Most stability balls on sale are sized for gym use and are too large for someone shorter than 5’8″. Using a ball that is too big makes every exercise harder to control and increases the fall risk.
Use this table:
| Your height | Ball diameter |
|---|---|
| Under 5’0″ (152 cm) | 45 cm |
| 5’0″–5’6″ (152–168 cm) | 55 cm |
| 5’7″–6’1″ (170–185 cm) | 65 cm |
| Over 6’1″ (185 cm) | 75 cm |
The quick test: sit on the ball with both feet flat on the floor. Your knees should be at a 90-degree angle, and your hips should be level with or slightly above your knees. If your hips drop below your knees, the ball is too small. If your feet barely touch the floor, it is too large.
Also check the ball’s weight rating. Senior-focused balls are usually rated to 300 lb (136 kg), but cheaper ones are rated lower. Look for the number printed on the ball or the box.
How much should you inflate it?
A common mistake is inflating the ball until it is rock hard. A firm ball is more unstable and harder to control. For senior use, inflate it to about 80–90% — soft enough that you can press a thumbprint into it, firm enough that it holds your weight without bottoming out.
THE 3 MISTAKES THAT CAUSE MOST STABILITY BALL FALLS
These are the three situations where people actually get hurt. None of them involve the exercise itself.
Mistake 1: Sitting down on the ball instead of lowering onto it.
You place the ball behind you, then sit down the way you would onto a chair. The ball rolls backward, you land on the floor. The fix: stand in front of the ball, place one hand on it to stop it rolling, then lower yourself slowly while keeping your weight over your feet. Both feet flat, knees bent, weight forward.
Mistake 2: Using the ball on a hard, smooth floor.
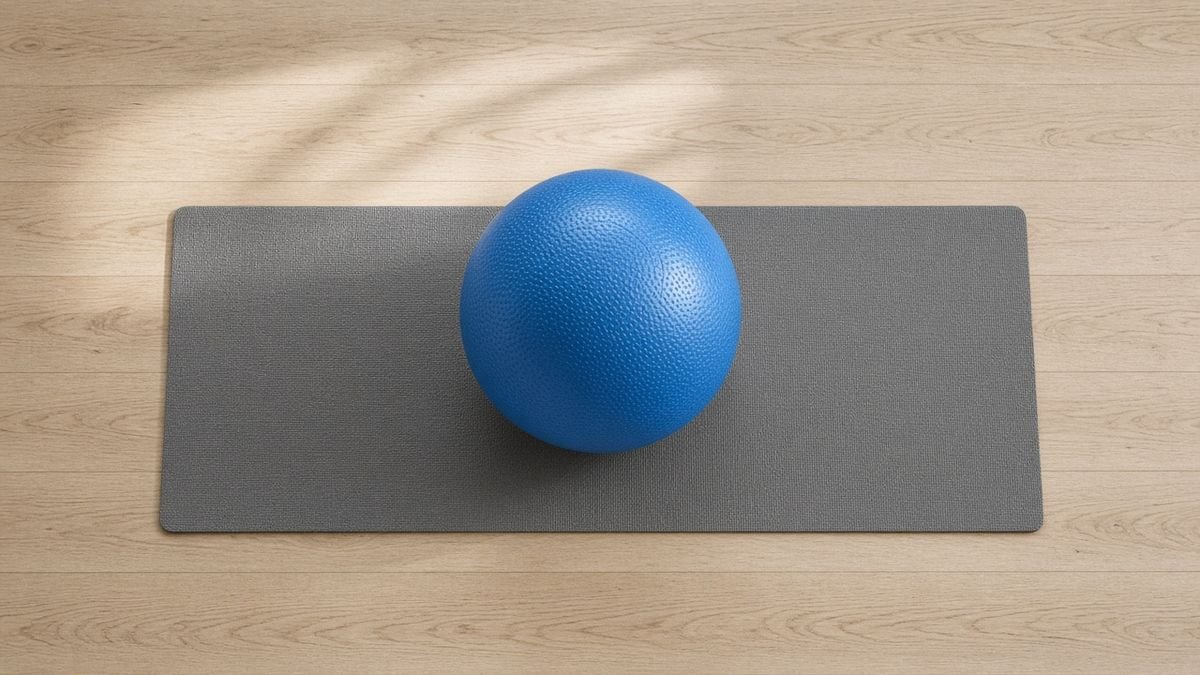
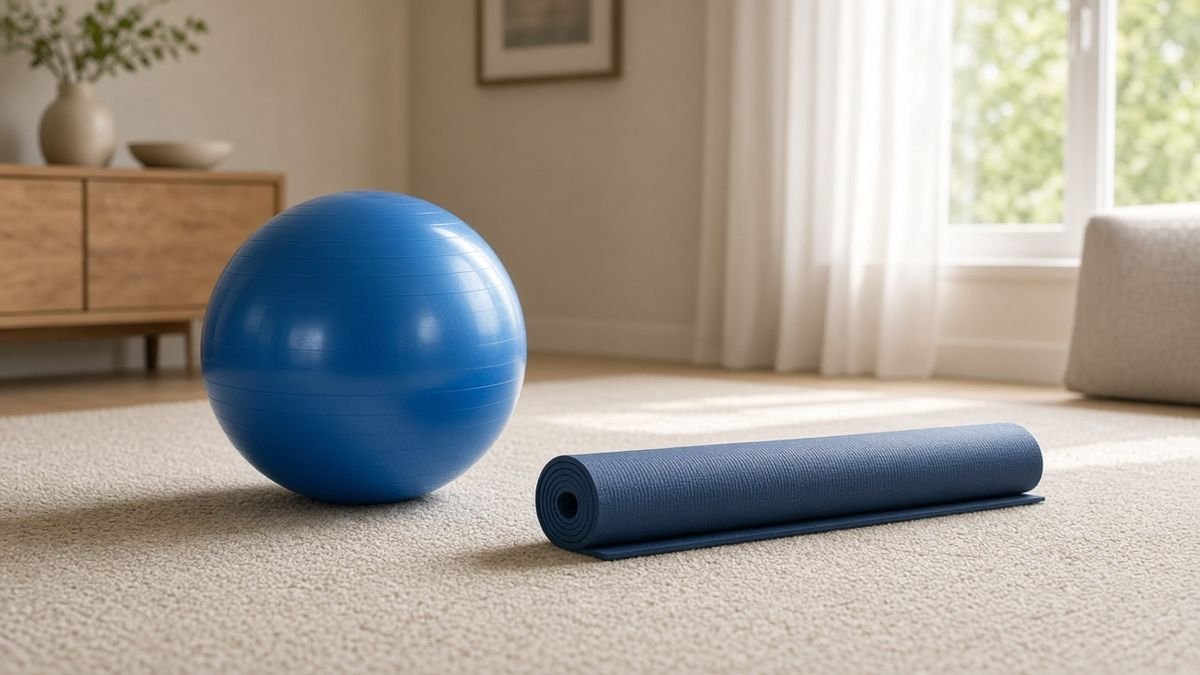
Tile, laminate, and polished wood give the ball nothing to grip. A ball on a glossy tile floor will shoot out from under you with almost no warning. Use a carpet, a yoga mat, or a rug. If you must use a hard floor, place a non-slip mat underneath.
Mistake 3: Getting up without stabilising the ball.
Getting off the ball is where a lot of falls happen, because people stand up while the ball is still free to roll. The fix: before standing, roll the ball so it is against a wall or a sofa, or grip it between your knees. Then stand.
One more rule that prevents most of the rest: always have a chair or a wall within arm’s reach. You will not need it in most sessions. The one time you do, it is the difference between catching yourself and landing on the floor.
12 CORE EXERCISES FOR SENIORS, EASIEST TO HARDEST
Do not skip levels. The progression matters more than the difficulty. Two weeks at level 1 builds more usable strength than one attempt at level 3.
Level 1 — Seated and Supported
1. Seated Pelvic Tilt
Sit on the ball, feet flat and shoulder-width apart, hands resting on your thighs. Slowly tilt your pelvis forward, then backward, like a gentle rocking motion. Small movement — about an inch in each direction.
Reps: 10 slow tilts, twice.
What it trains: the deep abdominal wall, and it teaches you to feel your pelvis move before you load it.
If it hurts your back: reduce the range. If it still hurts, skip to exercise 3.
2. Seated Marching
Sit tall on the ball, hands on your hips. Lift one foot about 2 inches off the floor, hold for 2 seconds, lower it. Alternate.
Reps: 10 lifts per leg, twice.
What it trains: hip flexors and the deep core that keeps you upright while one leg is off the ground — the exact pattern involved in walking.
Safety note: if lifting your foot destabilises you, keep your toes on the floor and just shift weight side to side instead.
3. Seated Ball Bounce (Gentle)
Sit on the ball and make small, controlled bounces — no more than an inch off the seat. Keep your feet flat.
Reps: 20 small bounces.
What it trains: spinal stabilisers under a light, rhythmic load. It is the single best warm-up for the rest of this list.
If you have had a spinal fusion or disc surgery: skip this one.
4. Seated Side-to-Side Lean
Sit tall, arms crossed over your chest. Lean slowly to the right until you feel your left side stretch, hold 2 seconds, return, then lean left.
Reps: 8 leans per side.
What it trains: the obliques, without any twisting of the spine. Twisting is what makes oblique work risky for older backs — leaning is not.
Level 2 — Seated and Unsupported
5. Opposite Arm and Leg Lift
Sit on the ball with no hand support. Slowly lift your right arm forward and your left foot off the floor at the same time. Hold 3 seconds. Return. Alternate.
Reps: 8 per side.
What it trains: the whole stabilising chain — the same pattern you use when reaching for something on a high shelf.
Why it works: limb movement is what actually challenges balance. Holding still on a ball is easy; moving on one is not.
6. Seated Knee Lift Hold
Sit tall, hands on hips. Lift one knee toward your chest, hold for 5 seconds, lower slowly. Alternate.
Reps: 6 per side.
What it trains: lower abdominal control and hip flexor strength.
Progression hint: when 5 seconds feels easy, extend to 10 seconds before adding the next exercise.
7. Seated Hip Circle
Sit on the ball and draw slow circles with your hips — a full circle, about 6 inches across, taking 4 seconds per circle.
Reps: 5 circles each direction.
What it trains: hip mobility and the obliques together. This is also the best exercise for the stiffness people describe as “my hips feel locked in the morning.”
Note: keep your upper body still. If your shoulders are swinging, the circle is too big.
8. Seated Torso Rotation (Small Range)
Sit tall, arms crossed. Turn your torso slowly to the right — no more than 30 degrees, stopping before you feel any pinch in the lower back. Return to centre, then left.
Reps: 6 per side.
What it trains: controlled rotation, which is what you need for getting in and out of a car.
Safety note: this is the one exercise on this list where range matters more than reps. Little and slow. If you have a history of disc problems, skip it and do exercise 4 instead.
Level 3 — Standing Control
9. Ball Wall Squat with Roll
Stand with your back against a wall, place the ball between your lower back and the wall. Slowly bend your knees and slide down about 6 inches, letting the ball roll with you. Hold 3 seconds, push back up.
Reps: 8.
What it trains: legs and core together, in a supported position. The ball and the wall together mean your knees never take your full body weight unless you want them to.
10. Standing Ball Push
Stand with feet shoulder-width apart. Place both hands on top of the ball. Push it slowly away from you about 18 inches, hold 3 seconds, pull it back. Do not bend your lower back — hinge from the hips.
Reps: 8.
What it trains: the anti-extension core function — the ability to hold your spine still while your arms move. This is the single most protective core skill for the lower back.
11. Standing Single-Leg Ball Touch
Balance on your right leg, with your left hand on a chair back for support. Tap the ball on the floor in front of you with your right foot, then return. Keep the support hand on the chair for the whole set.
Reps: 6 per leg.
What it trains: single-leg balance with a moving target — the closest thing on this list to the real-world situation that causes falls.
Do not attempt without a chair within reach.
12. Ball Pass Between Hands and Feet
Lie on your back, knees bent, feet flat. Hold the ball between your hands above your chest. Lift your feet and pass the ball to your feet, squeezing it between your ankles. Lower your feet, take the ball back with your hands, repeat.
Reps: 6 passes.
What it trains: the deep core under a coordination demand.
Skip this if: you cannot get up from the floor without help. Do exercises 1–11 first. There is no benefit in this exercise that you cannot get from the others.
THE 10-MINUTE BEGINNER ROUTINE
If you only do one thing, do this. It combines the safest exercises with the biggest returns, and it fits into a morning.
| Order | Exercise | Time |
|---|---|---|
| 1 | Seated Ball Bounce (warm-up) | 1 min |
| 2 | Seated Pelvic Tilt | 1 min |
| 3 | Seated Marching | 1.5 min |
| 4 | Seated Side-to-Side Lean | 1.5 min |
| 5 | Opposite Arm and Leg Lift | 2 min |
| 6 | Seated Knee Lift Hold | 2 min |
| 7 | Standing Ball Push | 1 min |
Rest 30 seconds between exercises. Do not rush the transitions — getting on and off the ball safely takes longer than you think, and that is fine.
Once this routine feels easy for two weeks, add exercise 7 (Hip Circle) and exercise 10. Keep the session under 15 minutes. Longer sessions do not build more strength in this context — consistency does.
HOW OFTEN SHOULD YOU DO THESE EXERCISES?
Three sessions per week is the standard recommendation, with at least one rest day between sessions. Core muscles recover slowly at any age, and slower after 60.
If you are new to exercise: start with two sessions a week for the first three weeks. Add the third session only when the two feel comfortable.
If you have been active: three sessions is right. Four is not better — the extra session adds fatigue, not strength.
What about daily? Light work like exercise 1 and 3 can be done daily as a warm-up. The strength exercises (5 through 12) should not.
WHAT RESULTS TO EXPECT, AND WHEN
Be sceptical of anyone who promises visible abs in four weeks. Here is a realistic timeline for a senior beginner:
Week 1–2: you will feel unsteady on the ball. This is normal and it is the training working.
Week 3–4: the ball starts to feel stable. You can do the level 1 exercises without thinking about them.
Week 5–8: measurable balance improvement. You will notice it getting out of a low chair or standing on one leg while dressing.
Week 8–12: noticeable difference in how you carry yourself and how confident you feel on uneven ground.
The thing that actually improves first is not your abs. It is your confidence in moving. That is the result worth training for, and it is the one you will feel first.
FAQ
Is a stability ball safe for seniors?
Yes, when the ball is correctly sized, inflated to 80–90%, used on a carpet or non-slip mat, and combined with the three safety rules above. The main risks are a ball that is too large, a hard slippery floor, and sitting down on the ball instead of lowering onto it.
What size stability ball should a senior use?
Under 5’0″ use 45 cm, 5’0″–5’6″ use 55 cm, 5’7″–6’1″ use 65 cm. The test is simple: when seated, your knees should be at 90 degrees and your hips level with or slightly above your knees.
How long does it take to see results from core exercises?
Balance and stability improvements typically appear between weeks five and eight with three sessions per week. Visible muscle changes take longer, and matter far less than the balance gains.
Can you do core exercises on a stability ball with a bad back?
Some yes, some no. The seated exercises (1–4) are generally well tolerated because they avoid spinal flexion and twisting under load. Exercise 8 involves rotation and should be skipped if you have a history of disc problems. Get clearance from your doctor or physiotherapist first.
Can you do stability ball exercises every day?
Light warm-up movements can be done daily. Strength exercises should be done three times a week with rest days between, because core muscles need recovery time — more so after 60.
What is the best exercise for balance in older adults?
Single-leg balance with movement, which is why exercise 11 is on this list. Standing on one leg is good; standing on one leg while the other foot moves to a target is better, because it trains reaction, not just position.
THE BOTTOM LINE
A stability ball will not give you a six-pack, and it is not meant to. What it does is retrain the muscles that keep you upright, and it does that without the repeated spinal bending that makes sit-ups a poor choice for older adults.
Pick the right ball size — most people buy one that is too big. Inflate it to 80–90%. Use it on a carpet. And spend your first two weeks on the level 1 exercises, even if they feel too easy. The progression from seated to standing is the whole point.
If you want to pair this with cardio that does not put stress on your knees, see our full-body cardio workout that can be done sitting or standing. And if your goal is fat loss alongside core strength, our strength training guide for losing fat while building muscle explains how the two fit together.
Useful next reads: